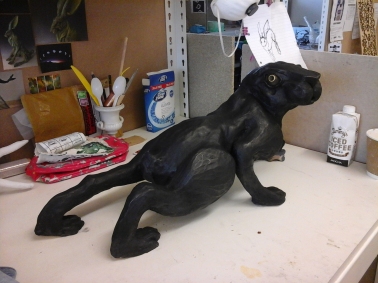
I’ve completed the paint job on my Mad Hare!
My mad hare has been fixed!
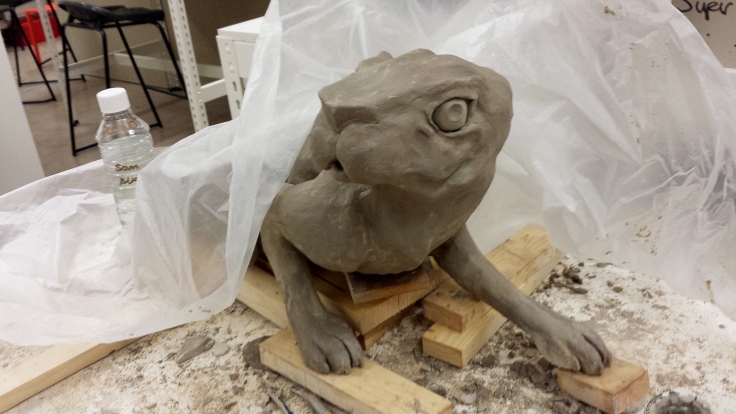
Recap: Unfortunately whilst being transported to the kiln he suffered a minor injury, well minor for a ceramic hare anyway!
The first front leg broke due to the vibrations o the trolly we used to take it downstairs, dried clay is terrifyingly brittle.
The 2nd then relinquished its join to the body whilst being placed on the kiln shelf in the kiln.
These things happen!
Luckily he remained whole during the firing and I was able to re-attatch the legs with epoxy glue. This means that I will be unable to put this piece back in the kiln with a glaze, so I plan on cold surfacing him instead!
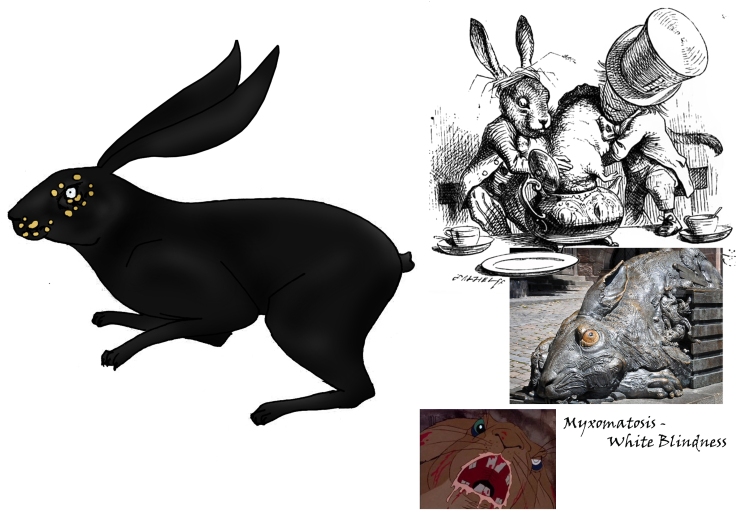
During the rise of Christianity, paganism was seen as evil and sinful by some people. Due to this, the positive symbolisms of the Pagans were twisted to become fearful, bad omens. The Hare became associated with madness and ill-omens. This design displays the physical symptoms of Myxomatosis, also known as mad rabbit disease.
Today my Mad Hare went into the kiln – it was my most stressful journey to the ceramics workshop ever. All went well thankfully and my Mad Hare made it to the kiln. However in a cruel twist of fate the shelf he was on would not fit in the kiln with him on so we had to transfer him to a new shelf in the kiln, at an angle. Both front legs once again broke free. That’s the risk of ceramics! Luckily I can re-attatch them once the piece is fired and completed
Once the ears were leather hard I was able to hold them up to the head in order to make the shape of the end of the ear complimentary to the head so that the join is as unnoticeable as possible once completed and joined. However upon doing so I realised that they looked far too straight and un realistic and also not like my maquette. Therefore I manipulated then into a more curved and pleasing shape. I then cleaned them up


I finally got to do my favorite part of the build, the detail! I enjoy adding the detail to a piece as that’s where I feel the emotion starts to thrive, with eyes in you can really start to engage with the figure as if it were its own character. Tragically at one point during the making process the legs dried out to much and found themselves detatched from the body, Luckily I could re-attatch them by dampening each end of the break and using slip as a glue – so far, so good!


Also we have ears! I achieved this by simply rolling over a large slab of clay. Due to the scale of the piece and the thin connection that links a hare with its ears I have decided to fire the ears and body separately then attached them using a metal rod once glazed.

I have chosen to over scale the ears as I don’t want my piece to portray the image of a realistic hare. As I am trying to show a stereotype I want the figure to look more over the top and unrealistic, without looking too cartoony. Therefore I want to maintain a sense of realism but present also dream like proportions. Think John Tenniel’s ‘Alice in Wonderland’ illustrations with the oversized heads. All of the details are there, however the figures are ‘off’.
For the surface of my pieces I wanted to achieve a luminescent moon like look on my luna hares and a dark look to my mad hare. I was toying with the idea of using lustres, however do to the scale and number of pieces this would create a high cost. Therefore I instead decided to experiment with reduction glazes. I first found this matt black glaze that I believe would be perfect for my mad hare and it really looked like what I would imagine demon skin could look like. This would therefore help portray the idea of the hare as an ill-omen and its links to the negative Christian view of witchcraft.
I then found these glazes in Uni and decided to first try number 15, recipes 7/6


